Upload Your Tattoo Photo or Artwork

Choose the image you want to turn into a stencil. It can be a tattoo photo, sketch, flash design, or digital artwork. For a better tattoo to stencil result, use a bright and clear photo.

Tattoo to Stencil Converter
Convert tattoo photos into stencil-ready artwork online.

My Ink
0Saved for 7 days without sign-in. Saved permanently after sign-in.
Total 0
No history yet. Start creating your first tattoo!
Turn any tattoo photo into a clean stencil. No manual tracing is needed. Upload your image, choose a process type, and get clear linework for printing, editing, or sharing with your tattoo artist.


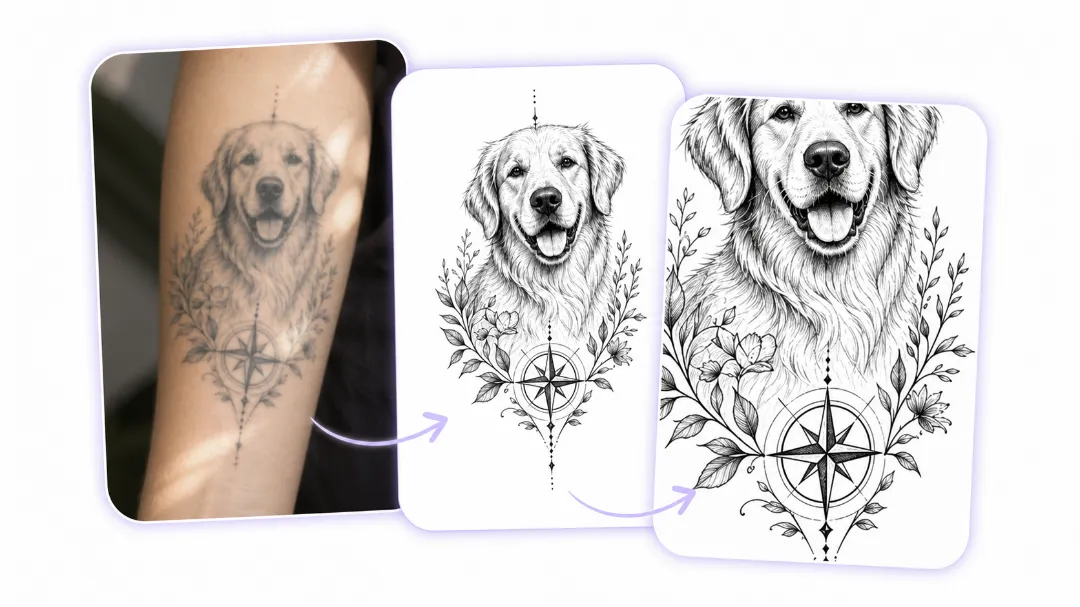
A tattoo to stencil converter turns an image into simple black-and-white linework. It helps you create a stencil-style version of a tattoo photo or design. You can use it before printing a stencil. You can also use it to clean up a rough idea before showing it to a tattoo artist. It gives you a faster and cleaner starting point.
Some of the photos people want stenciled are old, faded, or blurry — a tattoo shot on a phone in bad light, a picture from ten years ago, a scan of a worn-out design. Regular editors turn those into a muddy mess of gray noise. This tool reads past the skin texture, glare, and shadows, isolates the actual linework, and sharpens it into clean, high-contrast contours — even from a low-resolution source. Every symbol, letter, and fine detail comes through print-ready. And if you don't have a tattoo photo at all, just an idea? Starting from zero? Build your artwork with the tattoo design generator first, then convert it.
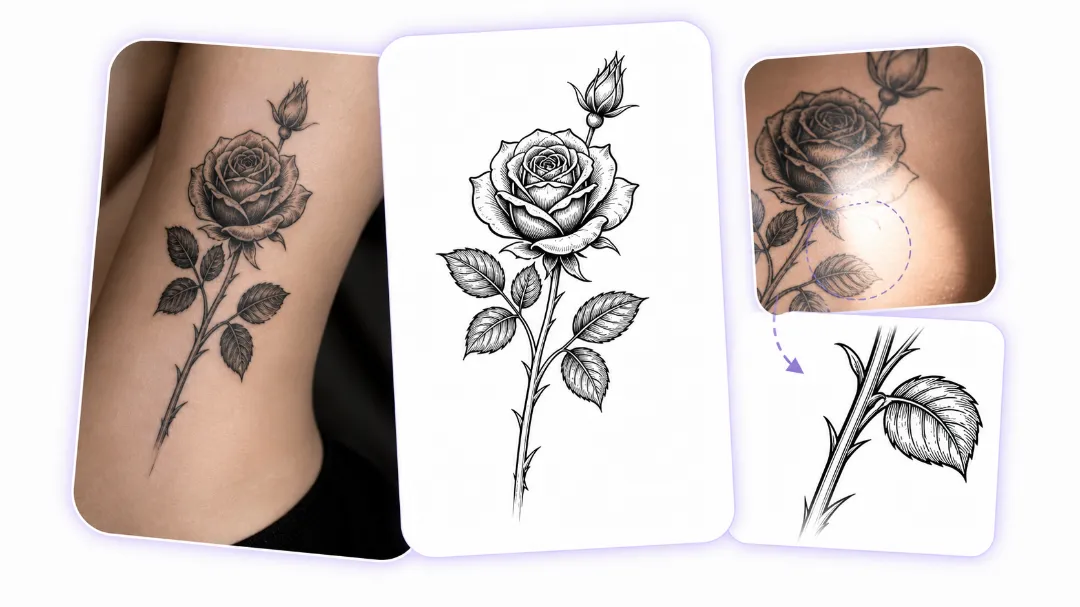
A tattoo on your arm or ribs never photographs flat. It wraps, bends, and skews, so what looks like a perfect design in the mirror turns into a warped version in a photo. The flattening engine digitally straightens it back out, as if the design were on a flat canvas. And when part of the tattoo is hidden — blocked by a shadow, a sleeve, or a glare spot — the AI doesn't leave a blank; it reconstructs the missing lines to match the original pattern. Body photos, skewed flash sheets, hand-drawn sketches: all of them come out centered and unwarped. Using your own artwork? Run image to tattoo first to clean it up before stenciling.
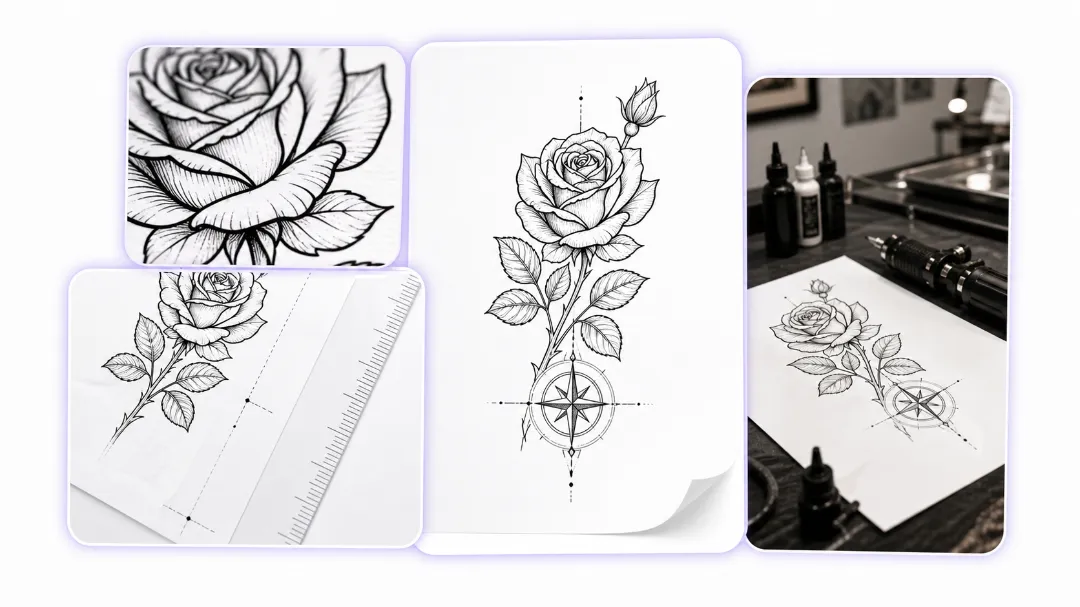
The difference between a stencil that prints clean and one that prints muddy comes down to line quality. This output is zero gray noise, consistent line weight, high contrast — built for stencil printers and thermal copiers, not just screens. Download the high-definition file and use it as a design draft, a digital transfer, or an editing base in whatever tool you like. One last step before you print: check scale and placement with a tattoo simulator — and have your artist review the dimensions before the session.
3 Simple Steps
Choose the image you want to turn into a stencil. It can be a tattoo photo, sketch, flash design, or digital artwork. For a better tattoo to stencil result, use a bright and clear photo.

Pick the process type that fits your image. Use a cleaner outline style for simple designs. Use stronger contrast for faded photos. Use more detailed linework for complex artwork.

After the conversion is done, download the stencil file. Open it and check the size before printing. Make sure the lines are visible.
Upload your tattoo photo, sketch, or artwork now. Turn it into clean stencil linework in a few steps.